
How to Draw a Boy's Face Step by Step (Easy Pencil Portrait)
- Beginner
- 12 min
- 12 steps
- People & Portraits
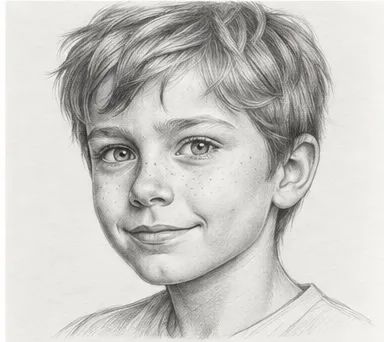

Drawing a face is one of the most rewarding things a beginner can learn — and one of the most intimidating. This lesson breaks a boy’s pencil portrait into 12 small steps, so you only ever focus on a few lines at a time. You’ll start with simple construction shapes, place the features using easy proportion guides, then build up hair and soft shading. No experience needed: if you can draw an oval and a straight line, you can finish this portrait in about 12 minutes.
What you'll need
- HB pencil
- 2B or 4B pencil
- kneaded eraser
- drawing paper
How to draw a boy's face step by step
Step 1
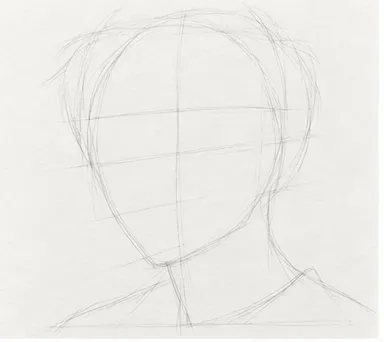
Step 2
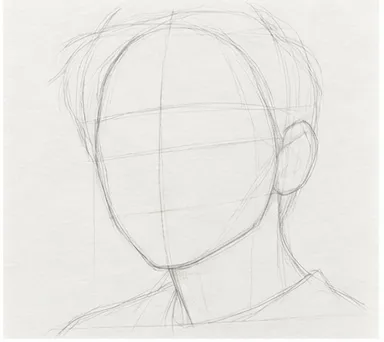
Step 3
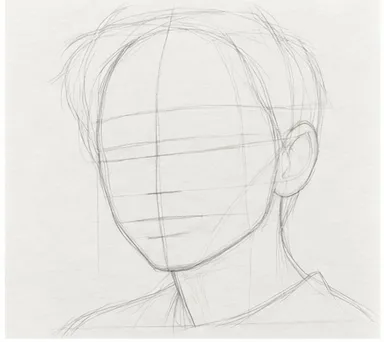
Step 4
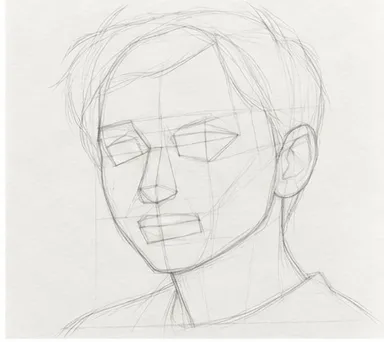
Step 5
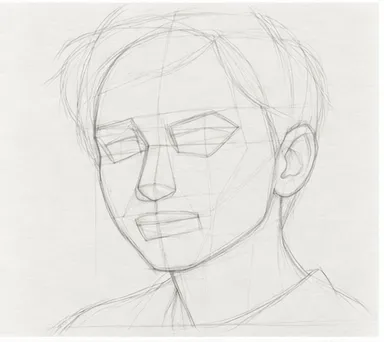
Step 6
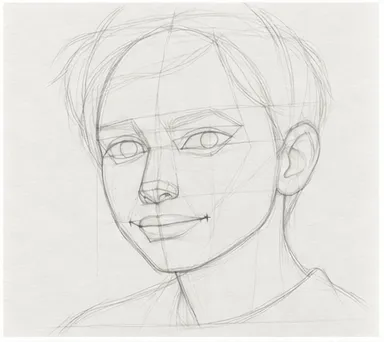
Step 7
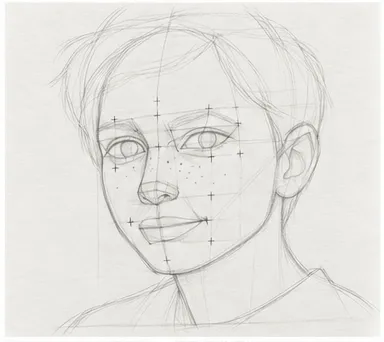
Step 8
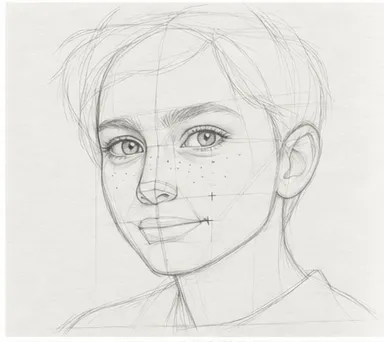
Step 9
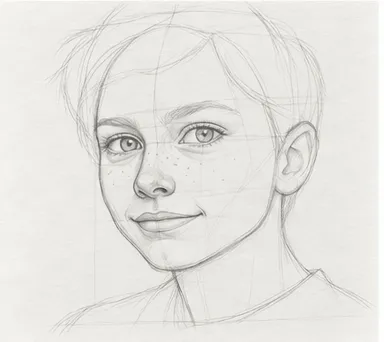
Step 10
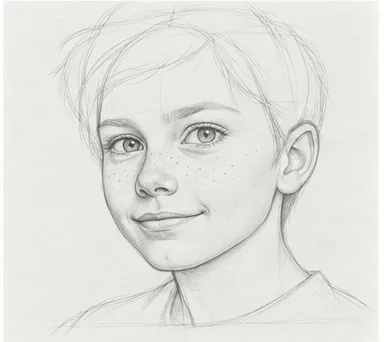
Step 11
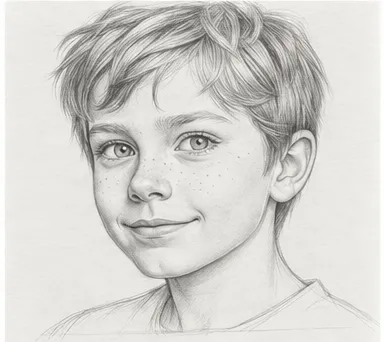
Step 12
Watch it come together
Understanding a child’s face
The biggest difference between a child’s face and an adult’s is where the features sit. On an adult, the eyes sit about halfway down the head. On a boy this age the skull is still large compared with the face, so the eyes sit at or slightly below the halfway mark and the whole face is lower and more compact. The chin is small and rounded, the jaw has almost no corner, and the cheeks stay full right down to the jawline.
Every feature is small except the eyes. The nose is short with a rounded tip, and the nostrils barely show. The irises look large because the eye openings haven’t finished growing, so leave a crisp white highlight in each one to keep them bright.
The smile changes the whole face. The cheeks push up, the lower eyelids lift and slightly narrow the eyes, and the corners of the mouth tuck into soft dimples. Because the head is turned slightly, the far eye looks narrower and the near ear is fully visible, level with the space between the brow and the tip of the nose.
Shading is where most boy portraits start to look older. Young skin is smooth, so model the face with soft, broad tone and very few hard lines. Dark creases from the nose to the mouth corners add decades, so show the raised cheeks with a soft patch of shadow instead. Save the darker, defined strokes for the hair, which falls forward over the forehead in loose clumps.
Common mistakes
Placing the eyes too high
On a face, the eyes sit roughly halfway down the head. Most beginners put them near the top, which makes the forehead look tiny.
Making it look like an adult
Children have rounder cheeks, a smaller nose and jaw, and eyes that look larger in proportion. Keep the lower face short and soft.
Drawing hair as a solid helmet
Draw hair as a few clumps that follow the direction it grows, then add a handful of individual strands at the edges.
Pressing too hard too early
Keep construction lines light with an HB pencil so they erase cleanly. Save the darker 2B–4B pencil for the final shading.
Frequently Asked Questions
Is this portrait lesson good for complete beginners?
Yes. It's rated Beginner and takes about 12 minutes. Each step adds only a few lines, so you never have to draw the whole face at once.
What pencils do I need to draw a boy's face?
An HB pencil for the light sketch and a 2B or 4B for darker lines and shading are enough. A kneaded eraser helps lift graphite without damaging the paper.
Can I trace this drawing?
Yes. Download the free printable outline on this page, or open this lesson in the Sketch Steps app and use AR mode to trace it onto real paper.
Practice this lesson in Sketch Steps — with AR tracing on real paper.
More drawing lessons
Related reading
- Face Sketch Step by Step: How to Draw Faces for BeginnersA step-by-step face sketch guide for beginners — proportion guidelines and an order of operations that actually works.
- Pencil Drawing for Beginners: A Step-by-Step GuideA step-by-step pencil drawing guide for beginners — which pencil to start with, how much pressure to use, and the order that actually works.