
How to Draw a Bald Man Step by Step (Smiling Graphite Portrait)
- Beginner
- 12 min
- 12 steps
- People & Portraits
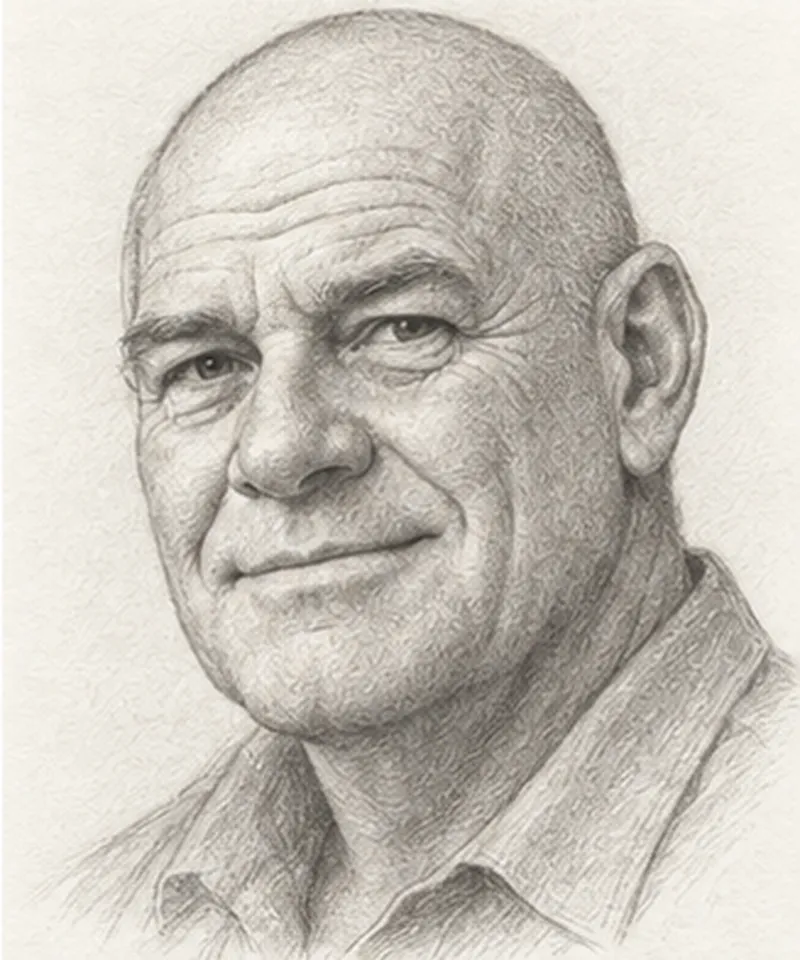

With no hair to hide behind, a bald head shows you its true shape — which makes it one of the best subjects for learning how a skull really sits on a face. This lesson draws a smiling older man with a bald head, a big friendly grin and a collared shirt, turned slightly to one side, in 12 small steps that take about 12 minutes. If you want to learn how to draw a bald man, you’ll practice the dome of the head, shading a round form, and the cheek and eye changes that make a smile look genuine.
What you'll need
- HB pencil
- 2B and 4B pencils
- kneaded eraser
- drawing paper
How to draw a bald man step by step
Step 1
Step 2
Step 3
Step 4
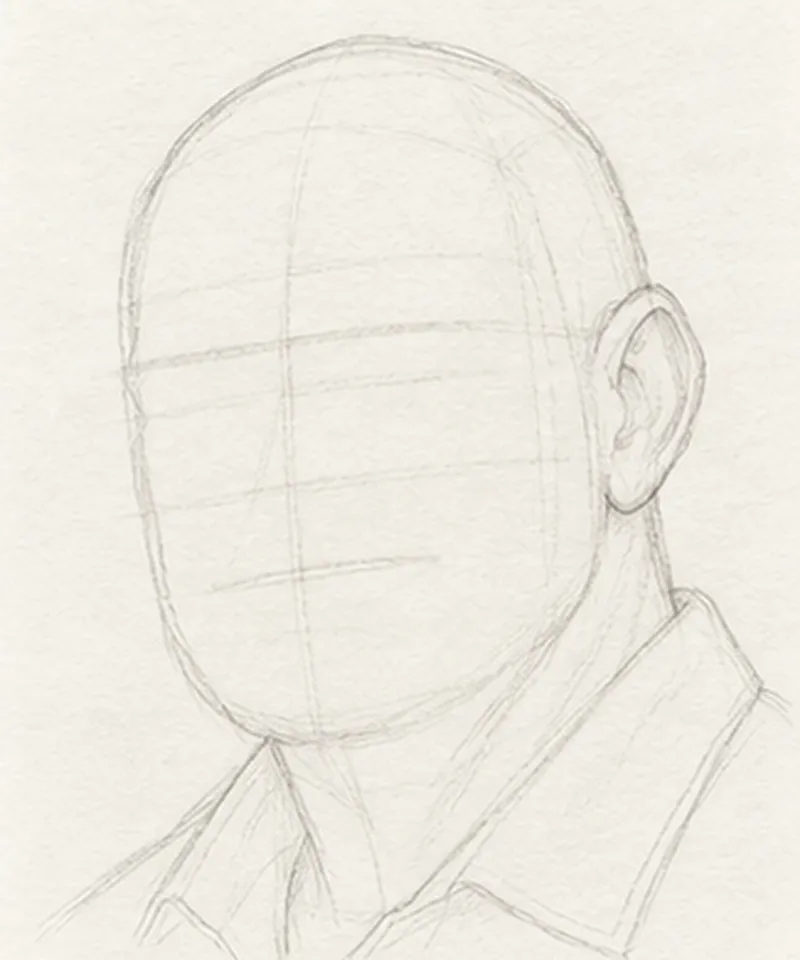
Step 5
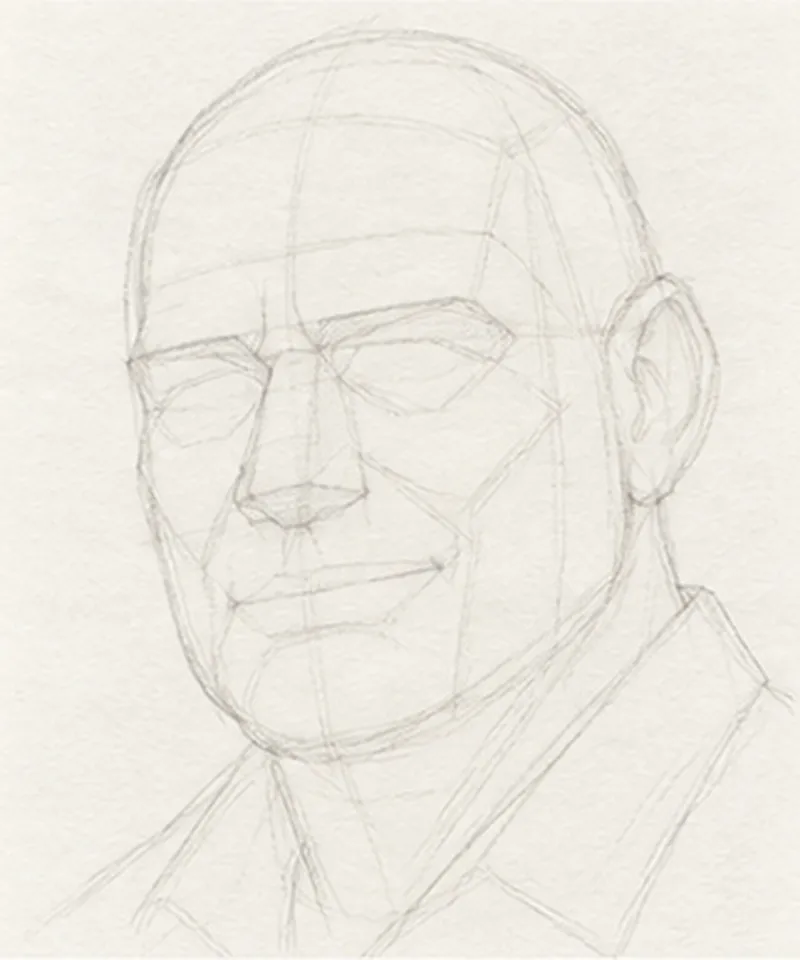
Step 6
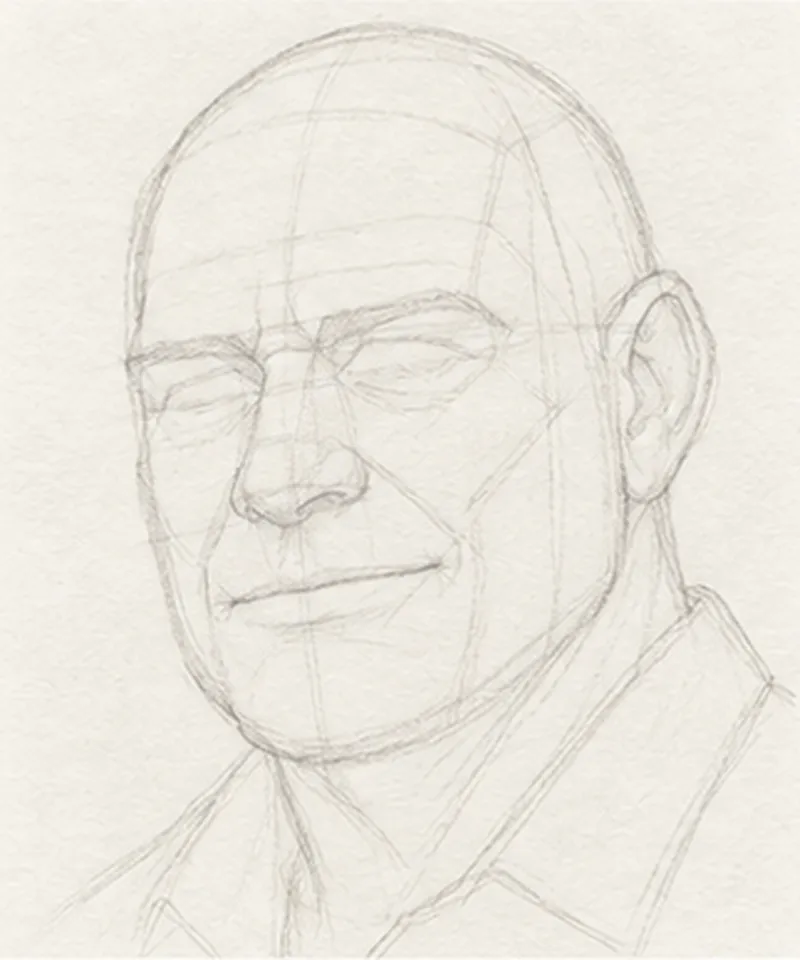
Step 7
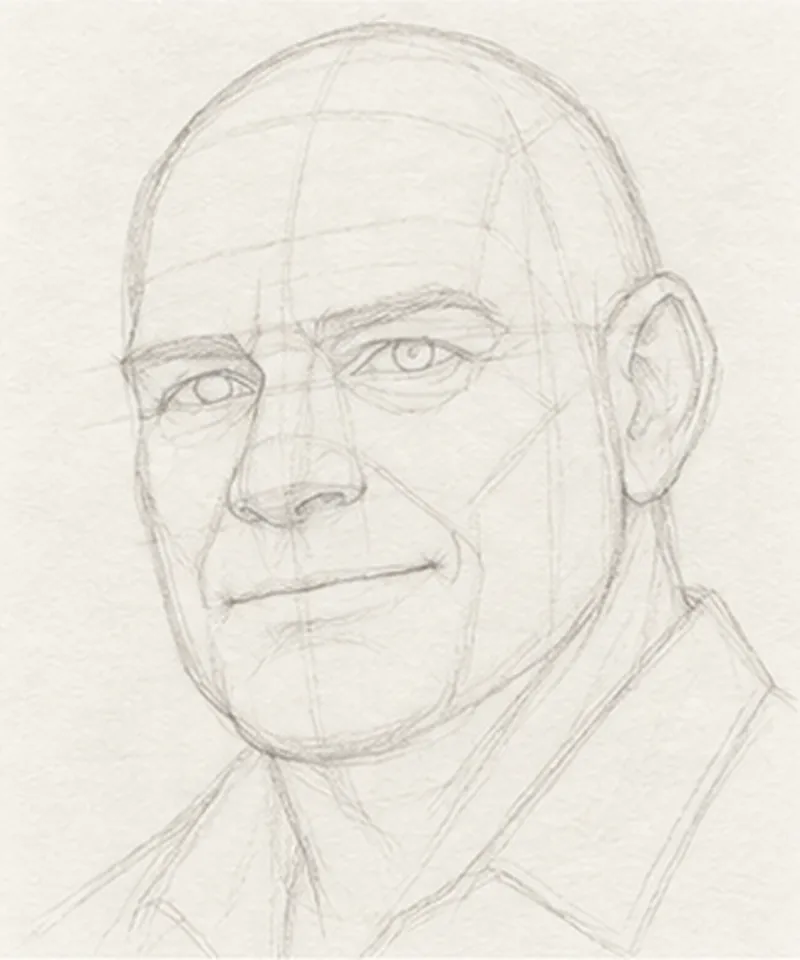
Step 8
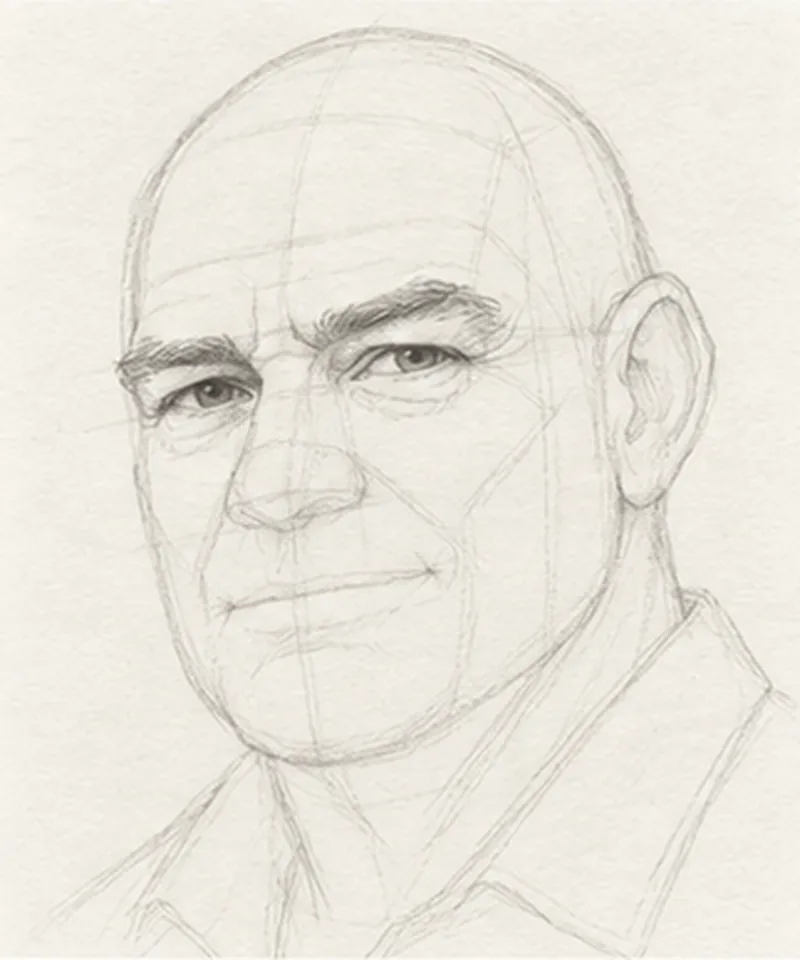
Step 9
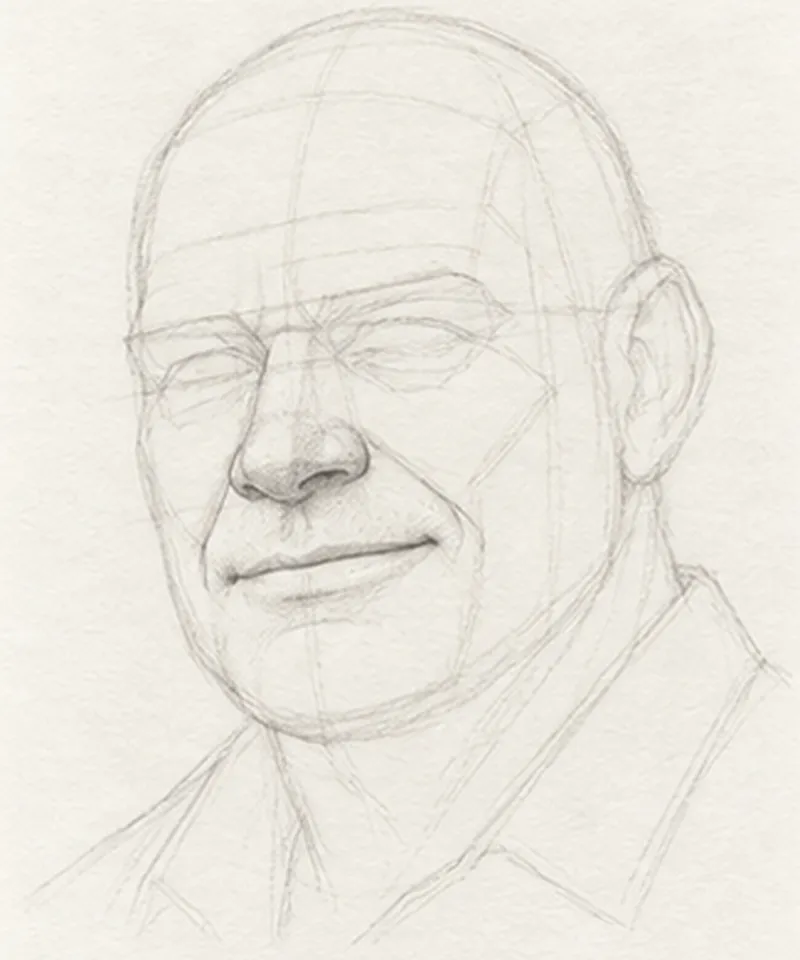
Step 10
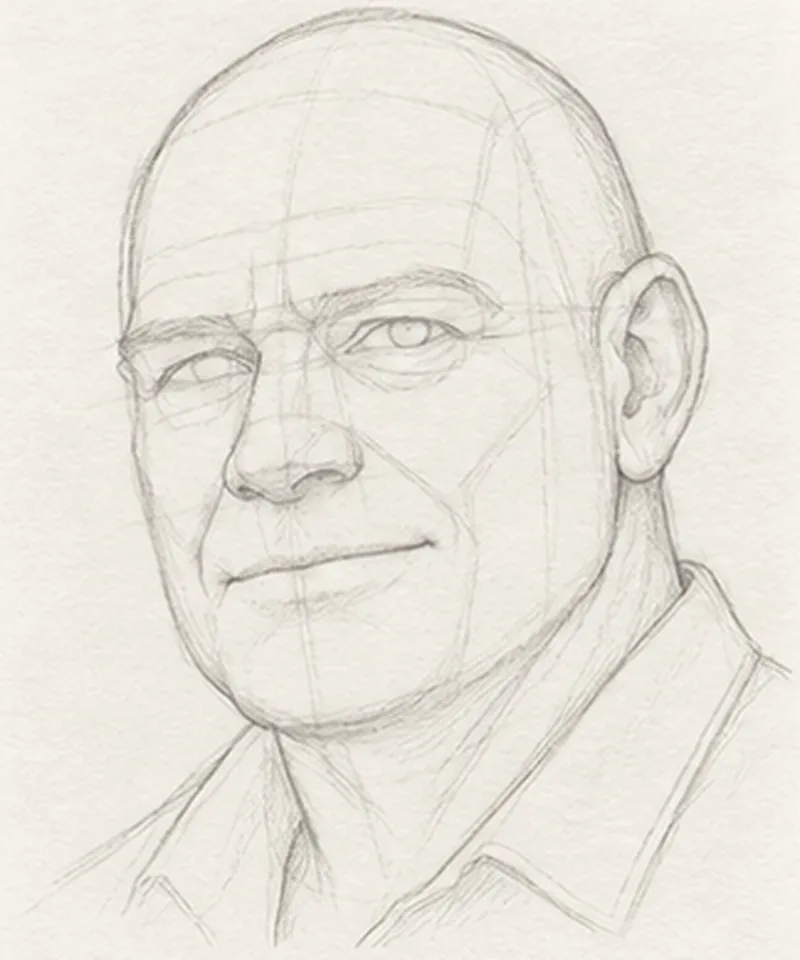
Step 11
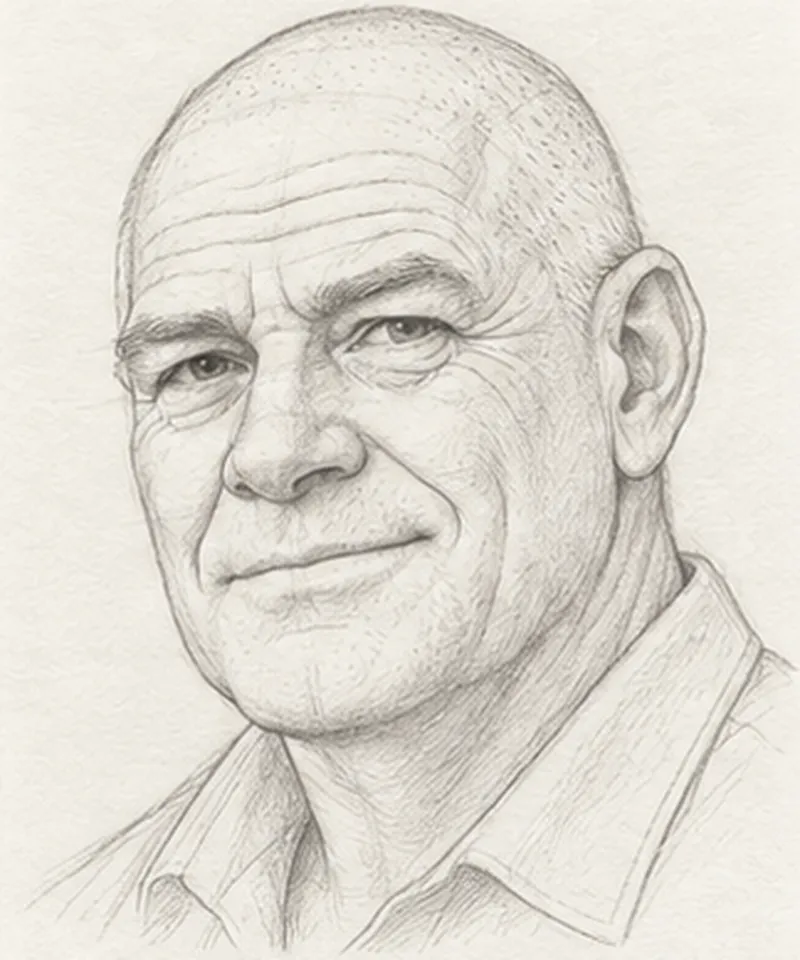
Step 12
Watch it come together
Understanding the bald head
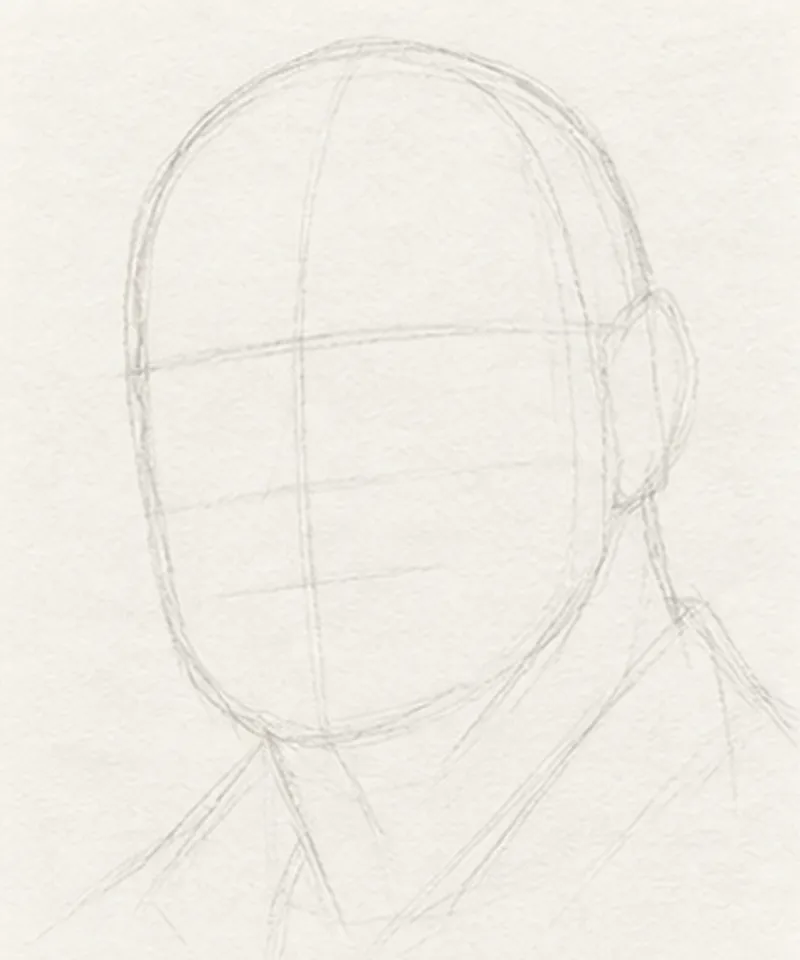
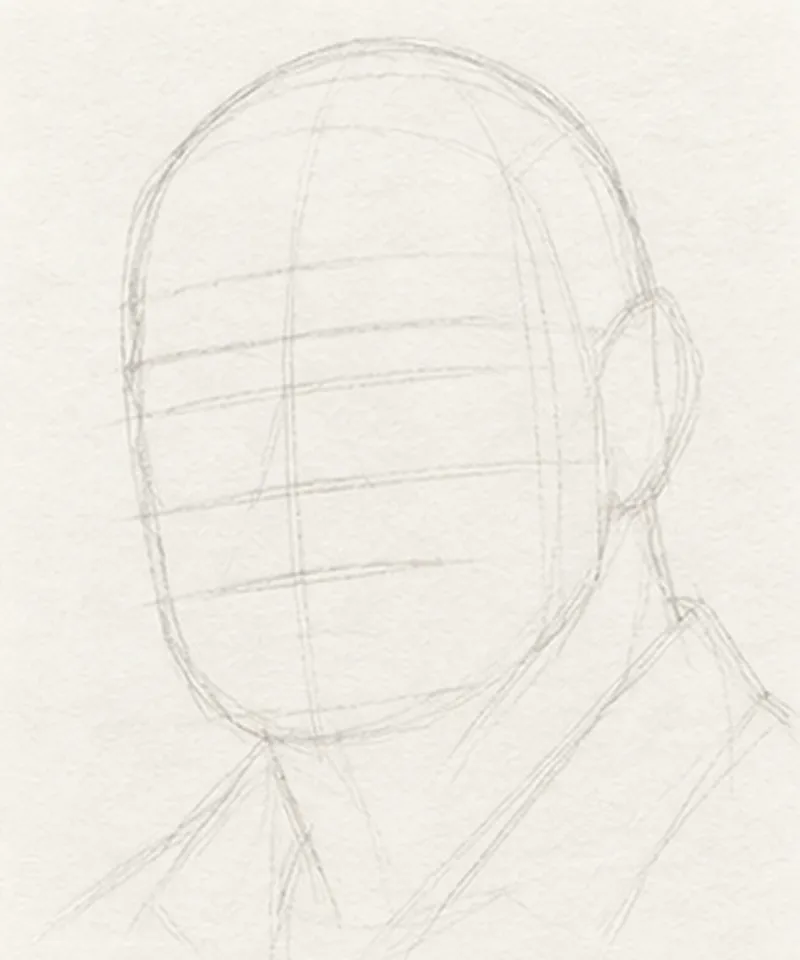
The skull is bigger than most people think. Above the eyebrows, the forehead and dome take up roughly a third of the head’s height before the curve even starts to turn back, and the head is almost as deep from front to back as it is tall. In this three-quarter view, the back of the skull extends well behind the ear, and the ear itself sits behind the vertical centre of the head.
Shade the dome like a ball. The top, facing the light, stays lightest. A band of darker tone — the core shadow — wraps around the side turning away from you, and just inside the far edge a slightly lighter strip of reflected light keeps the head from looking flat. Subtle skin texture and a few curved forehead wrinkles sit on top of that tone; they never replace it.
The smile changes the whole face, not just the mouth. The cheeks push up into round masses, the lower eyelids rise and narrow the eyes, and crow’s feet fan out from the outer corners. The folds from the nose to the mouth deepen into curved brackets around the closed-lip grin, and the corners of the mouth pull up and back toward the cheeks.
Age adds weight lower in the face: softer jowls along the jaw, a slightly fuller chin, and a large ear with a long lobe. Keep the collared shirt simple, with a few clean folds, so the head stays the brightest and most detailed part of the drawing.
Common mistakes
Flattening the top of the head
Without hair to hide it, a flat or small cranium is obvious. Draw the full dome — taller than you expect above the brow — and let the back of the skull extend well behind the ear.
Shading the head with one flat tone
A bald head reads as a sphere. Keep a highlight on the top where the light hits, a core shadow on the side turning away, and a little reflected light near the far edge.
Smiling with the mouth only
A real smile moves the whole face. Push the cheeks up into round shapes, narrow the eyes slightly, and add crow's feet at the outer corners.
Forehead wrinkles drawn as straight lines
Straight lines flatten the dome. Curve each forehead line around the head and keep them lighter than the shadows that define the skull.
Frequently Asked Questions
How do you draw the shape of a bald head?
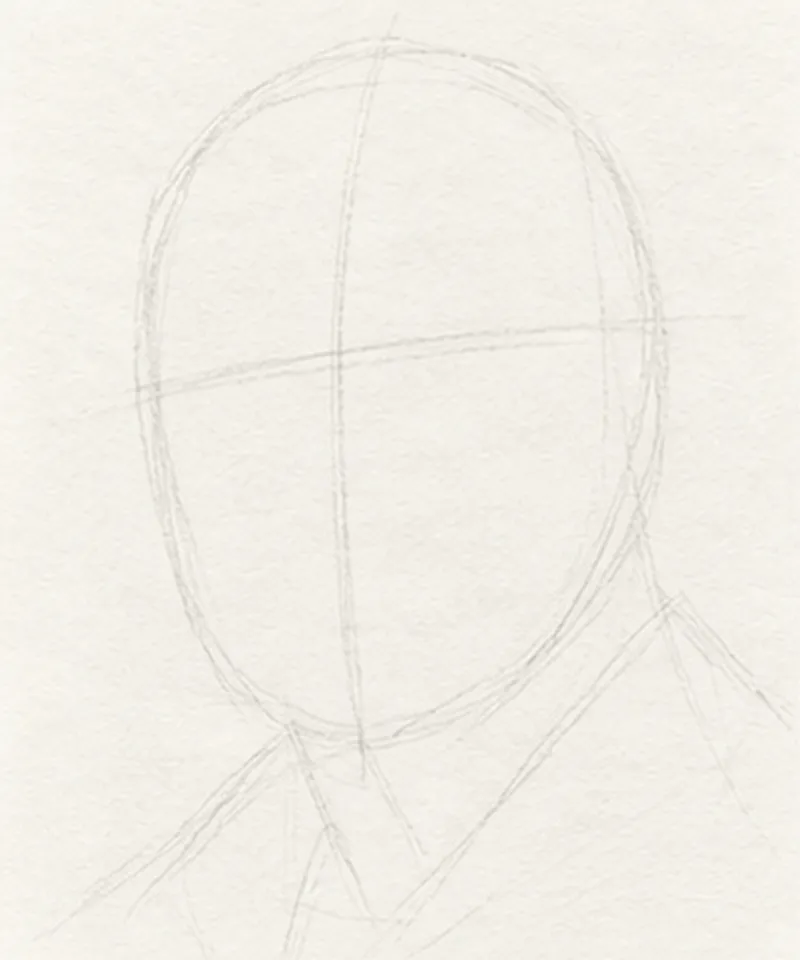
Start with a large egg shape for the cranium, then add the jaw below it. The skull above the eyebrows is taller than most beginners expect, and in a three-quarter view the back of the head extends well behind the ear.
How do you make a bald head look round in pencil?
Shade it like a ball. Leave the top lightest, build a band of darker tone where the head turns away from the light, and keep a slightly lighter edge just inside the far outline for reflected light.
What's the trickiest part of learning how to draw a bald man?
The silhouette. With no hair to soften it, every bump of the skull shows, so take time to get the outer shape of the head right before adding any features.
Practice this lesson in Sketch Steps — with AR tracing on real paper.
More drawing lessons
Related reading
- Face Sketch Step by Step: How to Draw Faces for BeginnersA step-by-step face sketch guide for beginners — proportion guidelines and an order of operations that actually works.
- The Step-by-Step Method for Sketching: Why It WorksWhy breaking a drawing into ordered steps helps adult beginners learn faster than copying reference images or watching tutorials.